
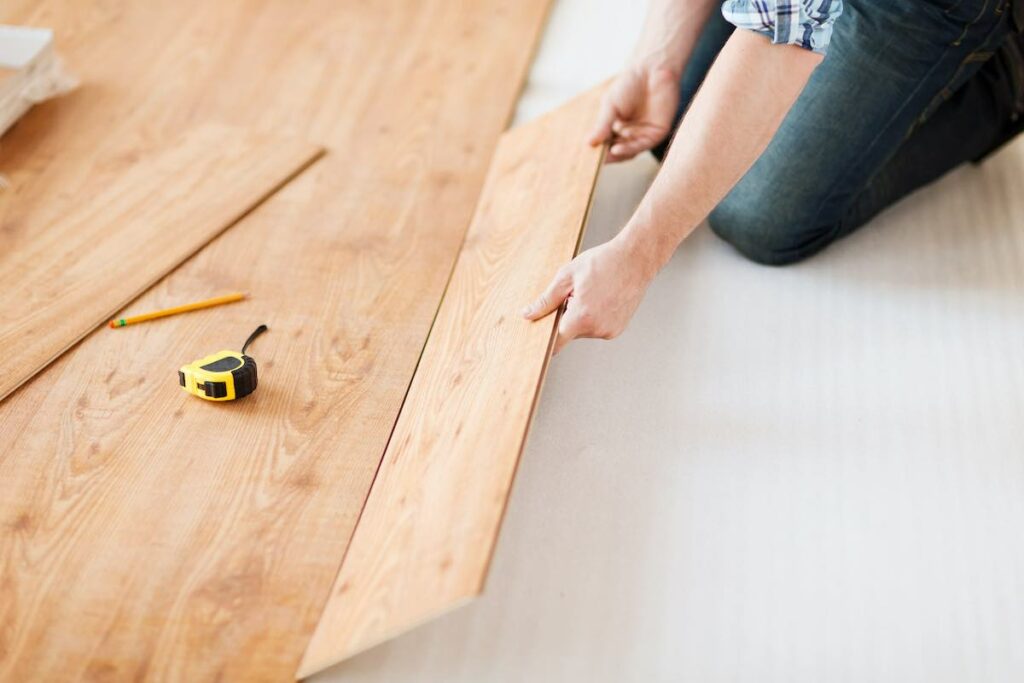
Installing hardwood floor checklist
Installing hardwood floor can be a daunting task. There are so many things to keep track of, and it’s easy to make a mistake that could cost you time and money. In this blog post, we will provide you with a comprehensive checklist that will help you through the entire installation process. We recommend printing out this checklist and keeping it handy during your installation project!
- Acclimate the wood: This is one of the most important steps when installing hardwood floor. You need to allow the wood to adjust to the temperature and humidity of your home before starting the installation. Otherwise, you risk the wood shrinking or expanding after it’s installed, which can cause gaps and unevenness.
- Provide dust control: Hardwood installation creates a lot of dust.
- Remove baseboards and furniture: In order to install the hardwood flooring, you will need to remove any baseboards and furniture.
- Demolition: The next step is the demolition of the old flooring or carpet. Bear in mind this is an extra cost.
- If appliances need to be removed, a plumber or electrical contractor might be needed to disconnect and reconnect them.
- Check the subfloor to make sure it’s leveled and flat.
- Measure the humidity of the subfloor and the wood.
- If there are any squeaks, now it’s time to repair them.
- Choose your underlayment and/or adhesive.
- Determine the heights between your products and pick your transitions
- If you have heat vents on the floor, order custom ones to match your floor.
- To avoid odd color variations, make sure your contractor mixes planks from various boxes during installation, mix them evenly but avoid putting extremes of color right next to each other. It’s critical for the homeowner to be there at this time to give feedback on the work.
- If there is a plank that stands out (too light, too dark, too many knots etc) you can use it in discrete areas like closets.
- Bear in mind a painter could be needed at the end of the installation to paint and add baseboards.
We hope that this blog post has been helpful and that you will find our hardwood floor installation checklist to be a valuable resource. If you have any questions, please don’t hesitate to contact us. We would be happy to help! In the meantime, be sure to order some free samples so that you can see and feel the quality of our floors for yourself. Thanks for reading!